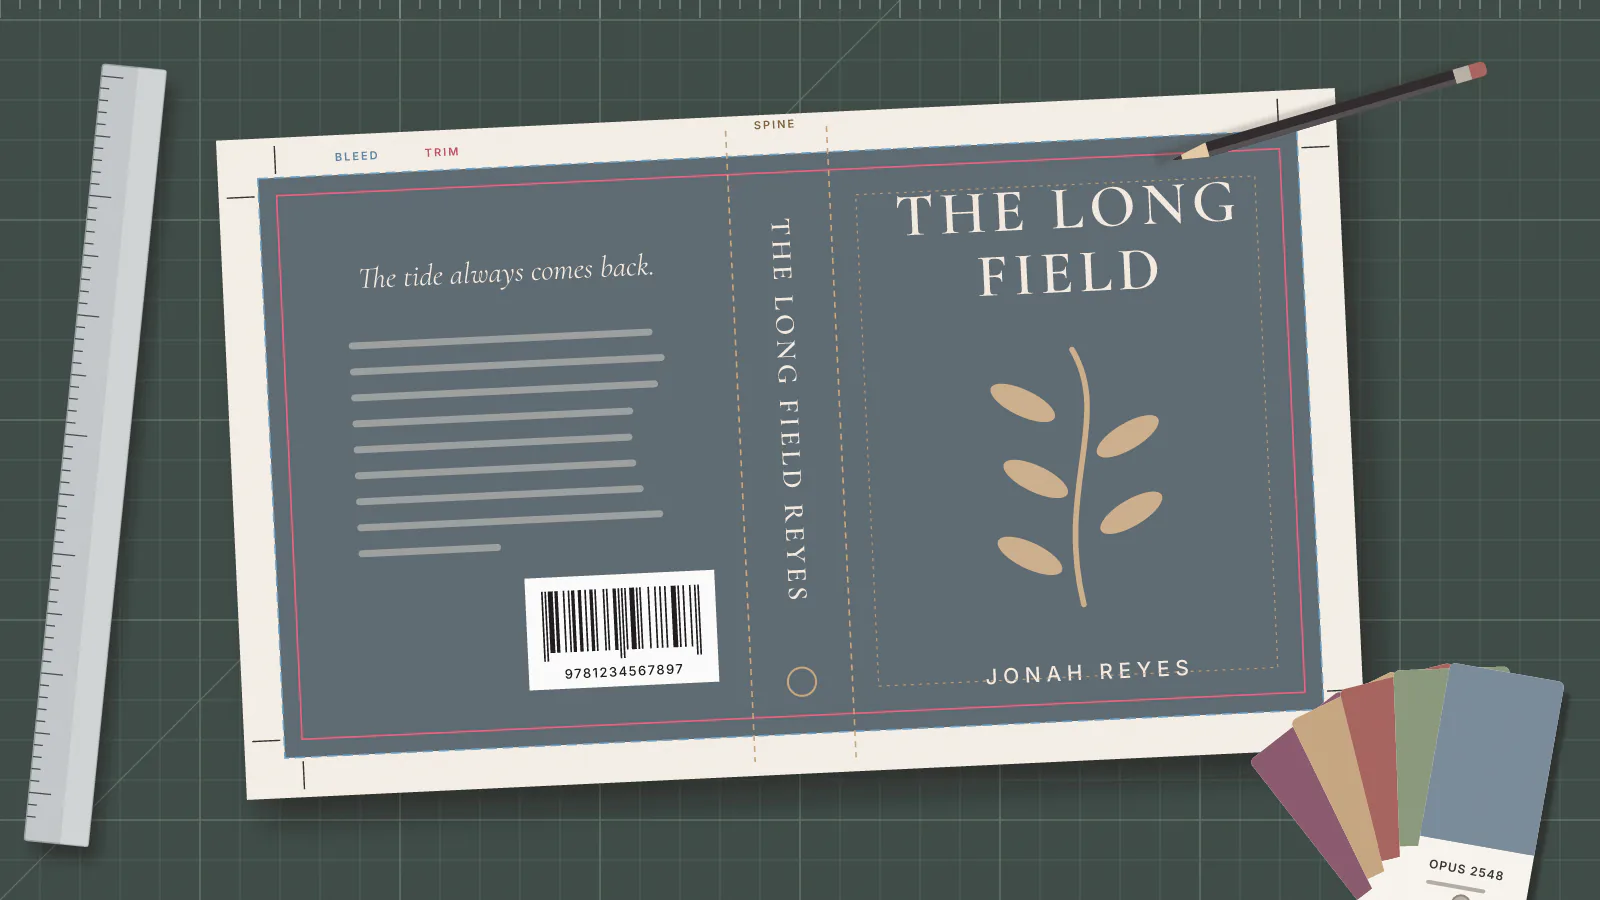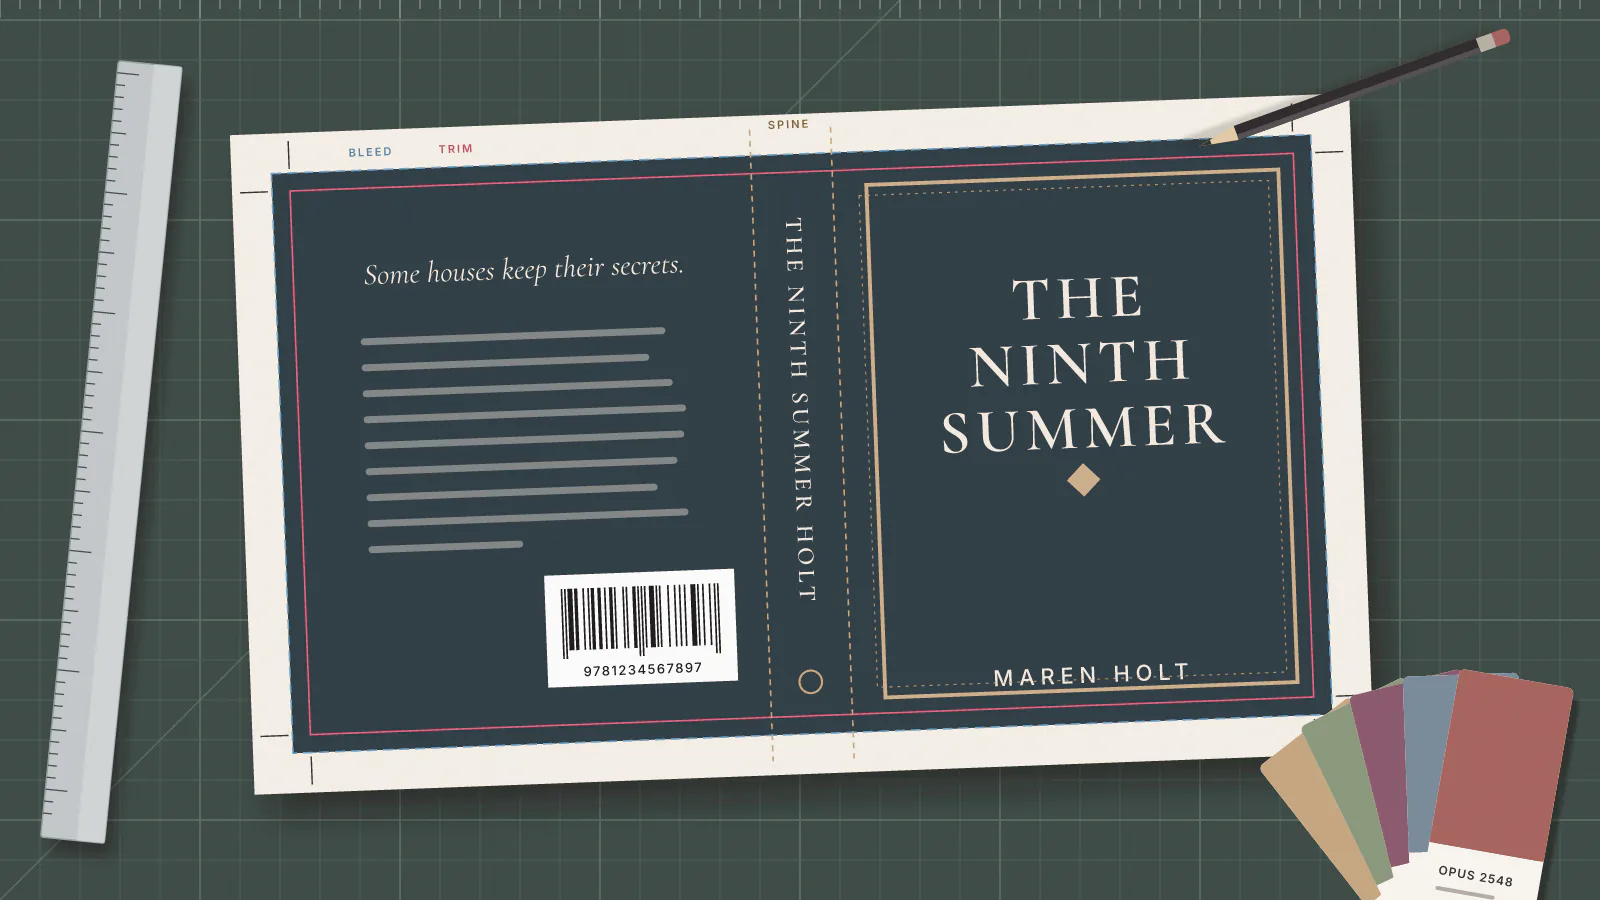
Download KDP's paperback cover template and you get a layout of labeled blocks with nothing explained. The KDP cover template marks nine named zones, and each one is an instruction. Four tell you where artwork and text may sit, three are keep-out areas that stop your work drifting onto the wrong panel when the book is trimmed, and two are measurements the file has to hit.
What does each zone on the KDP cover template mean?
KDP's cover calculator and template generator draws nine labeled zones. Full cover and front cover are measurements; safe area, bleed, spine and spine safe area hold your art and text; margin, spine margin and barcode margin are keep-out areas.
The figures below come from KDP's Create a Paperback Cover help page, as of October 2026. Trim line means the line the printer cuts along, trim size is the finished page size, and a fold line is where the cover bends at the spine.
| Zone on the template | What belongs in it | The number that governs it |
|---|---|---|
| Full cover | Nothing. Full cover is the total width and height of the file, including front, back, spine and wrap. | Cover Width = Bleed + Back Cover Width + Spine Width + Front Cover Width + Bleed |
| Front cover | The cover area that stays visible after printing. The back cover is the same size. | Your chosen trim width and height |
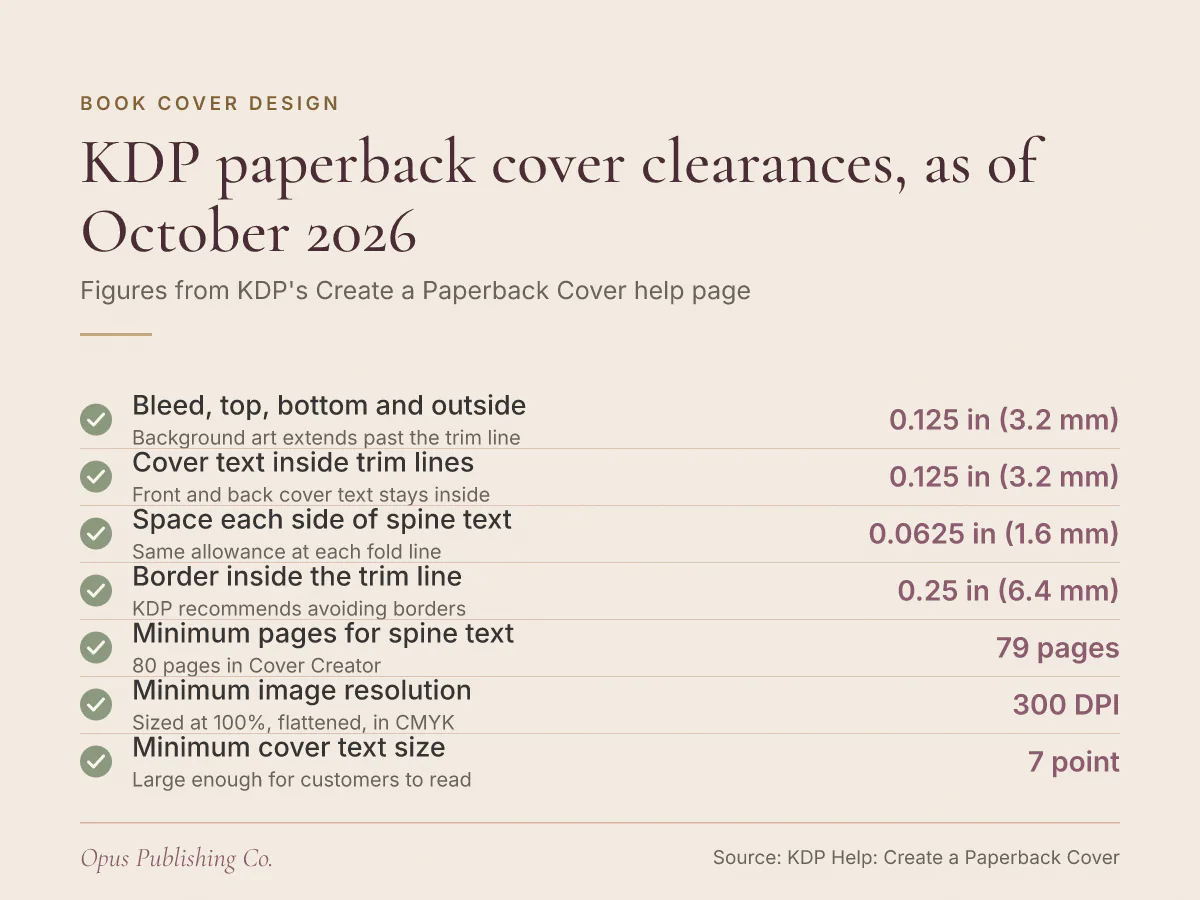
| Safe area | All front and back cover text, plus any image that has to stay intact. | Keep text at least 0.125 inches (3.2 mm) inside the trim lines |
| Bleed | Background color and images that have to reach the trimmed edge. | 0.125 inches (3.2 mm) on the top, bottom and outside edges |
| Margin | Nothing, unless the art is meant to wrap to the inside cover. | No text or images |
| Spine | The bound edge, sized from page count and paper type. | Page count multiplied by your paper's thickness per page |
| Spine safe area | Spine text and spine artwork. | 0.0625 inches (1.6 mm) clear on each side |
| Spine margin | Nothing. Content here can shift onto the front or back cover. | Allow 0.0625 inches (1.6 mm) of variance at each fold line |
| Barcode margin | Nothing. The barcode sits here and has to scan. | Keep it clear of art and text |
The pair that causes the most confusion is safe area and margin. Safe area is where your content must stay so it doesn't shift to the front or back cover during printing. Margin is the strip the template reserves beside it, and KDP's cover page tells you to keep text and images out of it unless they are meant to wrap to the inside cover.
Read the spine as three zones, not one. The spine itself carries the art, the spine safe area is the narrower band your text has to stay inside, and the spine margin is dead space you leave empty.
How much bleed does a KDP cover need?
Bleed on a KDP cover is 0.125 inches (3.2 mm) added to the top, bottom and outside edges of the file. Bleed is printed area that runs past the trim line, so no white edge shows once the book is cut.
There is no bleed on the inside edges of the front and back panels, because those edges meet the spine rather than a cut. Every paperback cover has bleed, so a background color or image has to extend 0.125 inches (3.2 mm) beyond the final trim line on all outside edges, not stop neatly at it.
Text works the opposite way. Front and back cover text has to sit at least 0.125 inches (3.2 mm) inside the trim lines, and no front or back cover text should run into the spine area.
Borders are the common casualty. KDP doesn't recommend them, because it has to allow for a 0.125 inch (3.2 mm) production variance that can trim a border or make it look uneven. If your file includes a border, KDP's cover page says it should cover at least 0.25 inches (6.4 mm) inside the trim line, and a white border has to meet KDP's minimum border width or the file may be rejected.
How do you calculate KDP paperback cover size and spine width?
Cover Width = Bleed + Back Cover Width + Spine Width + Front Cover Width + Bleed, and Cover Height = Bleed + Trim Height + Bleed. KDP's paperback cover page gives both formulas. Spine width comes from your page count and your paper choice.
The per-page thickness depends on the paper KDP prints on:
- White paper: page count x 0.002252 inches (0.0572 mm)
- Premium Color paper: page count x 0.002347 inches (0.0596 mm)
- Standard Color paper: page count x 0.002252 inches (0.0572 mm)
Say you have a 320-page novel printing on white paper at a 6 x 9 inch trim size. The arithmetic, as an example:
- Spine width: 320 x 0.002252 = 0.72 inches (0.72064 rounded).
- Cover width: 0.125 + 6 + 0.72 + 6 + 0.125 = 12.97 inches.
- Cover height: 0.125 + 9 + 0.125 = 9.25 inches.
Design the spine last. Change a chapter break and the page count moves, the spine width moves with it, and every element on the cover slides sideways. KDP's cover calculator and template generator will produce the layout once you enter your ink and paper choices, trim size and page count. The formula is broken down step by step in our guide to KDP spine width and cover size.
You can't generate a usable template before the trim size is settled, so fix that first. Our guide to choosing a book trim size covers what the decision affects downstream.
How many pages does a book need for spine text?
KDP requires a minimum page count of 79 pages to include text on the spine, or 80 pages if you use Cover Creator, its built-in cover tool. A cover carrying spine text on a shorter book is rejected and needs adjustment before the book can go live.
KDP's cover page states the threshold two ways, which is worth knowing before you commit. One passage sets a minimum page count of 79 pages for spine text. Another says KDP only prints spine text on books with more than 79 pages. Cover Creator's stated minimum is 80 pages. If your manuscript lands right at the line, the safe call is to leave the spine blank or add pages until you are clear of 80.
On a spine wide enough to carry text, the text has to be sized to fit, with at least 0.0625 inches (1.6 mm) of space between the text and the edge of the spine. Books vary slightly when they are bound, so KDP tells you to allow 0.0625 inches (1.6 mm) of variance on either side of your cover's fold lines.
Hard edges on the spine are a related trap. A block of color that stops exactly at a fold makes any shift obvious, and KDP's cover page recommends against them for that reason.
What goes in the barcode area on the back cover?
The barcode margin on the back cover holds the barcode and nothing else. KDP's cover page describes that zone as the area keeping the barcode from shifting during printing so it scans properly, which means your artwork and text have to stay out of it.
You can upload a cover with or without a barcode. If you don't supply one, KDP places a barcode on your back cover automatically.
KDP's paperback cover page doesn't publish the barcode block's dimensions, and that is the practical argument for working on a generated template rather than a reused one. Generate the layout for your exact trim size and page count, and the barcode margin arrives drawn at the right size and position. Guess the rectangle from a blog post and you are trusting a number the platform never stated.
Cover text has to match the book details you entered during title setup exactly: title, author name, edition and ISBN, the International Standard Book Number that identifies your edition. One exception applies. If you are publishing a low-content book through KDP's Publish without an ISBN option, you don't need ISBN information on the cover.
For right-to-left content, the generated layout places the front cover to the left of the spine and puts the barcode in the lower left corner of the back cover.
Why does KDP reject a cover file?
KDP rejects a cover file that breaks one of the conditions its cover page lists. The list includes spine text on a book under 79 pages, text or images in a keep-out zone, missing bleed, live transparencies, unembedded fonts, template guides left in the file, and locked PDFs.
Work through KDP's pre-publication checklist before every upload:
- Save the cover as a single PDF holding the back cover, spine and front cover as one image.
- Flatten all transparencies, which otherwise print with missing or distorted content.
- Embed your fonts in the file.
- Remove crop marks, color bars, template text, PDF creation guides and software references.
- Confirm images sit at a minimum resolution of 300 DPI (dots per inch, the measure of print resolution), sized at 100% and flattened to one layer.
- Put images in CMYK, the four-ink color model used for full-color printing, rather than RGB, the color model cameras and monitors use.
- Remove spot colors, which KDP says aren't compatible with its print-on-demand model, where each copy is printed as it is ordered, and convert them to CMYK.
- Leave color profiles out. KDP strips them automatically before publishing and says they can produce unexpected results.
- Optimize the PDF to reduce its size, and remove any password or encryption.
- Keep the file under 650MB, which is the point at which covers won't convert, and ideally at 40MB or less so printing isn't slowed.
Two text rules catch covers that otherwise look fine. Cover text should be at least 7-point font so readers can actually read it. And text too close in color to its background reads as illegible, a problem KDP's cover page flags for both backgrounds and fonts.
What to check before you upload this week
Three jobs take a cover file from guesswork to print-ready, and none of them needs a full day. Lock the interior, generate the template from final numbers, then audit the export against KDP's checklist.
- Finalize the interior. Page count, trim size and paper type all have to be decided, because all three feed the spine width.
- Generate the template with those inputs and build the design on top of it as a guide layer, keeping text inside the safe area and the spine safe area.
- Delete the guide layer, export one flattened PDF with fonts embedded, then order a proof copy and look at the spine with the book in your hands.
The proof copy is the step worth not skipping. A spine that looks centered on screen can read as off-center in print, and the only way to see that is to hold the book. Opus offers book cover design if you would rather hand the file off than set guides yourself.